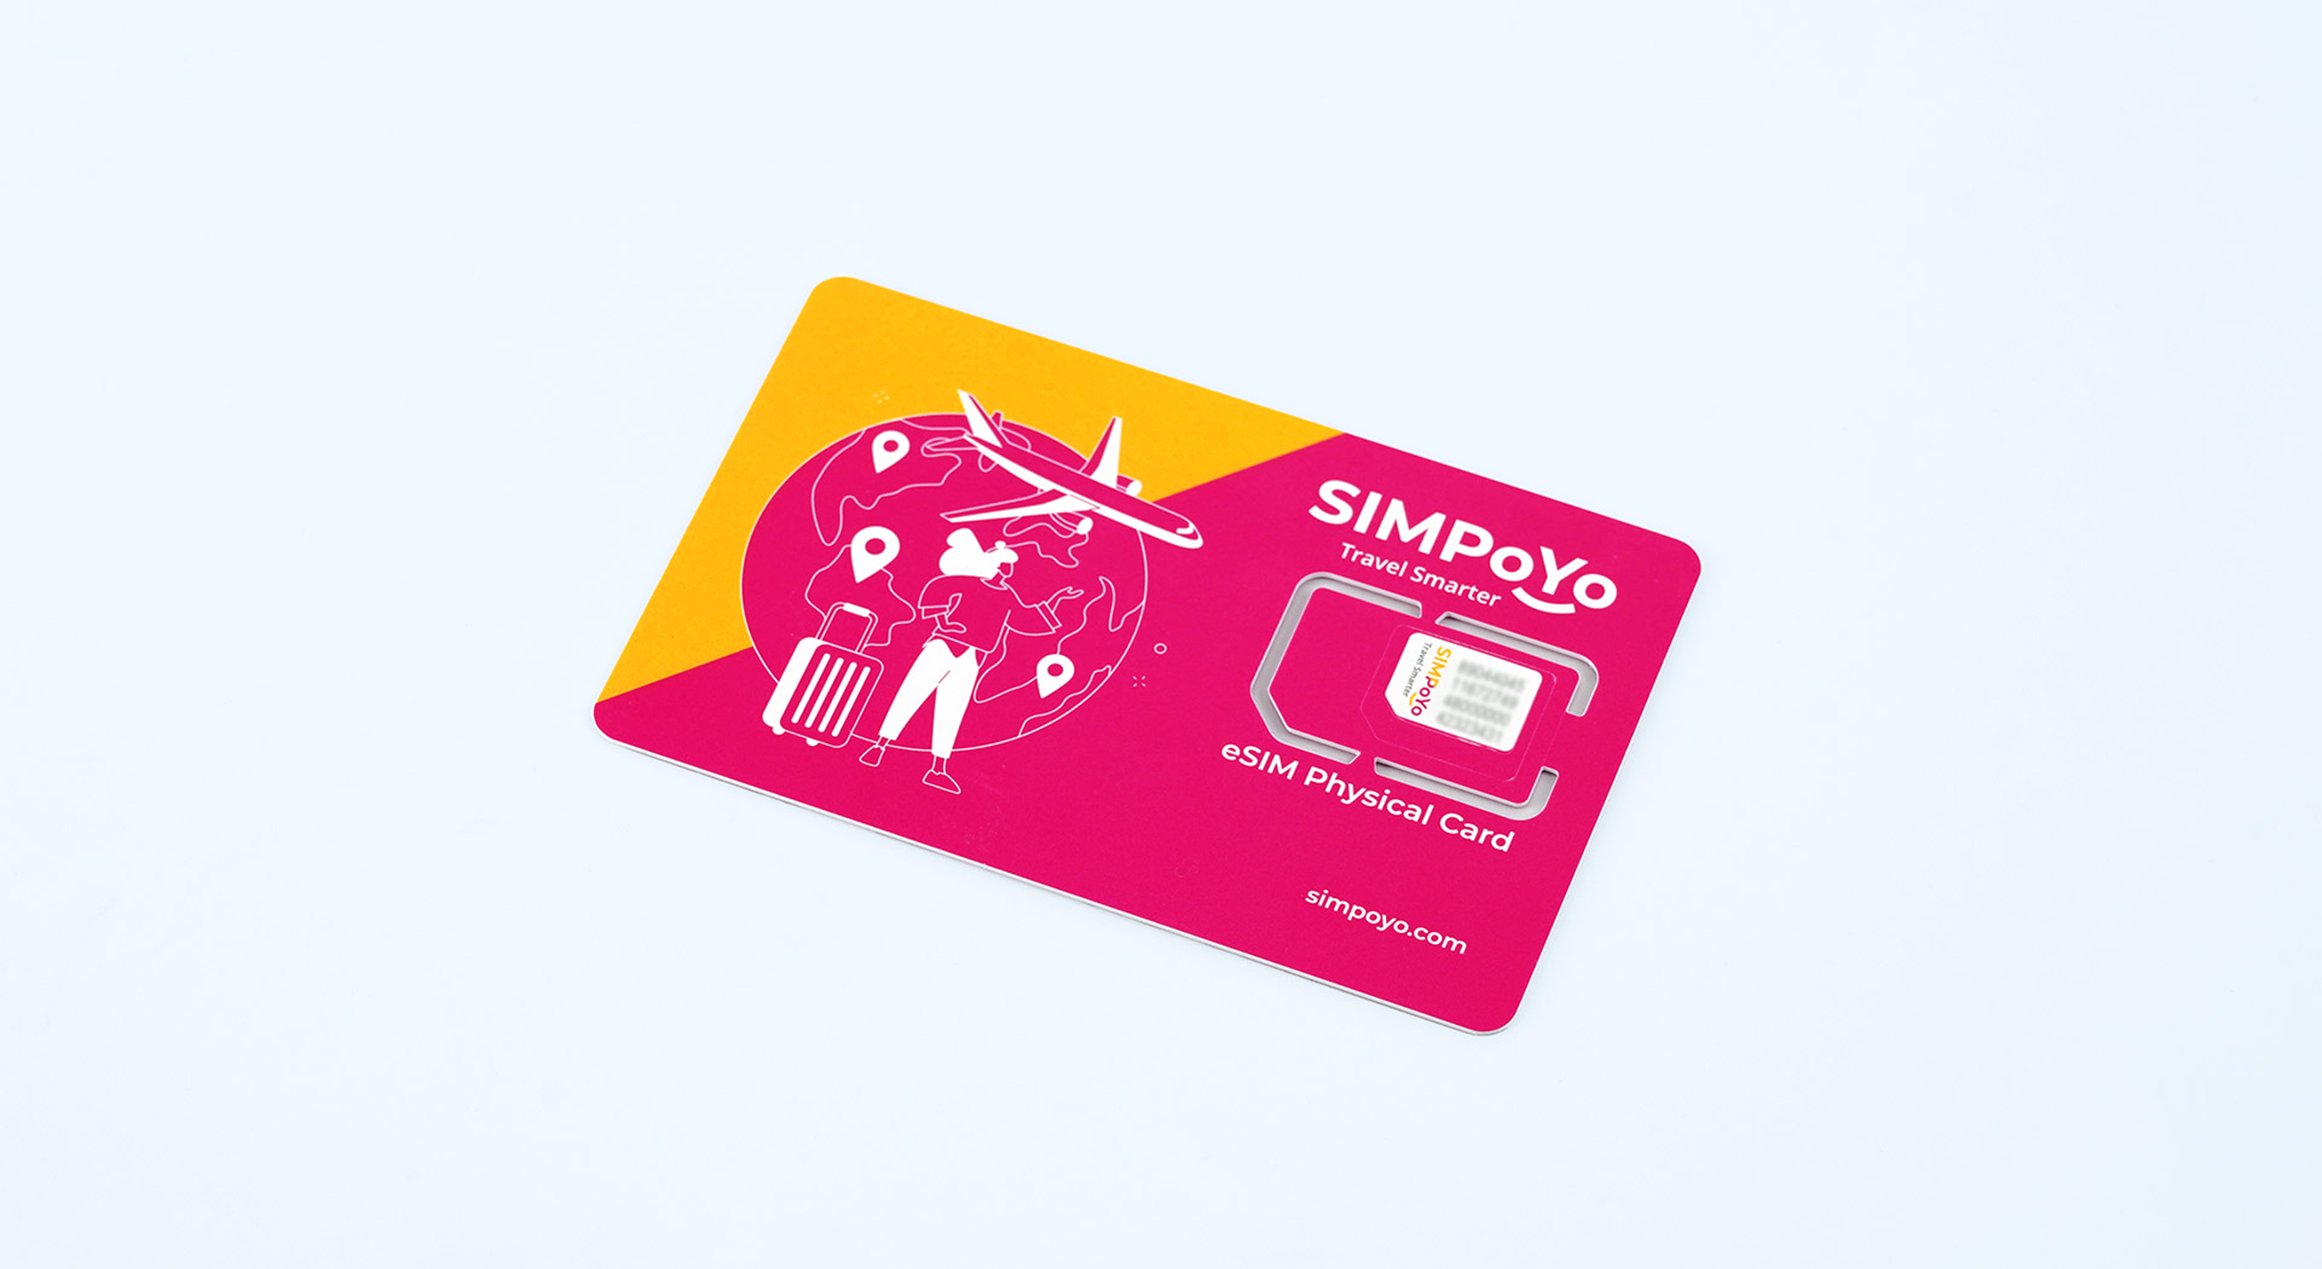
How to use the eSIM Physical Card with GL.iNet routers?
This guide will show you how to use the eSIM physical card purchased from the GL.iNet online store with GL.iNet routers.
Features
The highlights of eSIM physical cards are as follows:
- Supports 4G and 5G networks for reliable and fast connections.
- Manage your eSIM profiles effortlessly by adding, removing, or enabling them.
- Select and purchase your preferred data packages from most eSIM stores worldwide at any time.
- Works with eSIM profiles from most global eSIM stores.
- Purchase eSIM profiles online without providing personal information, reducing the risk of privacy breaches.
- Comes with a seed profile that includes 1GB of free data for the U.S. and Europe, plus 100MB of Global Data, valid for 1 year from the activation date.
- Compatible with selected GL.iNet devices.
Supported Models
| Router Model | Support |
|---|---|
| GL-X2000 (Spitz Plus) | √ |
| GL-X3000 (Spitz AX) | √ |
| GL-XE3000 (Puli AX) | √ |
| GL-E750V2 (Mudi V2) | √ |
| GL-E750 (Mudi) | ※ |
| GL-XE300 (Puli) | ※ |
| GL-X750 (Spitz) | ※ |
| GL-X300B (Collie) | ※ |
| GL-E750V2 vSIM | X |
For models marked with ※:
-
The current stable firmware does not support eSIM. To use the eSIM function, you need to install the eSIM-supported firmware. Contact us for more instructions.
-
If you are using the ※ model with EP06-A module, eSIM is not supported because the Qualcomm software lacks specific AT command support.
-
If you are using the ※ model with EP06-E module, please refer to this LINK to upgrade the module's firmware and install the eSIM-supported firmware in order to enable eSIM functionality.
Note: GL-E750V2 vSIM does not support eSIM functionality.
Set Up the eSIM Physical Card
If you're using the eSIM Physical card for the first time, please watch this setup video or follow these steps below to set it up on your GL.iNet Router.
Step 1: Insert the eSIM Physical card into your router. Refer to the images below for detailed guidance.


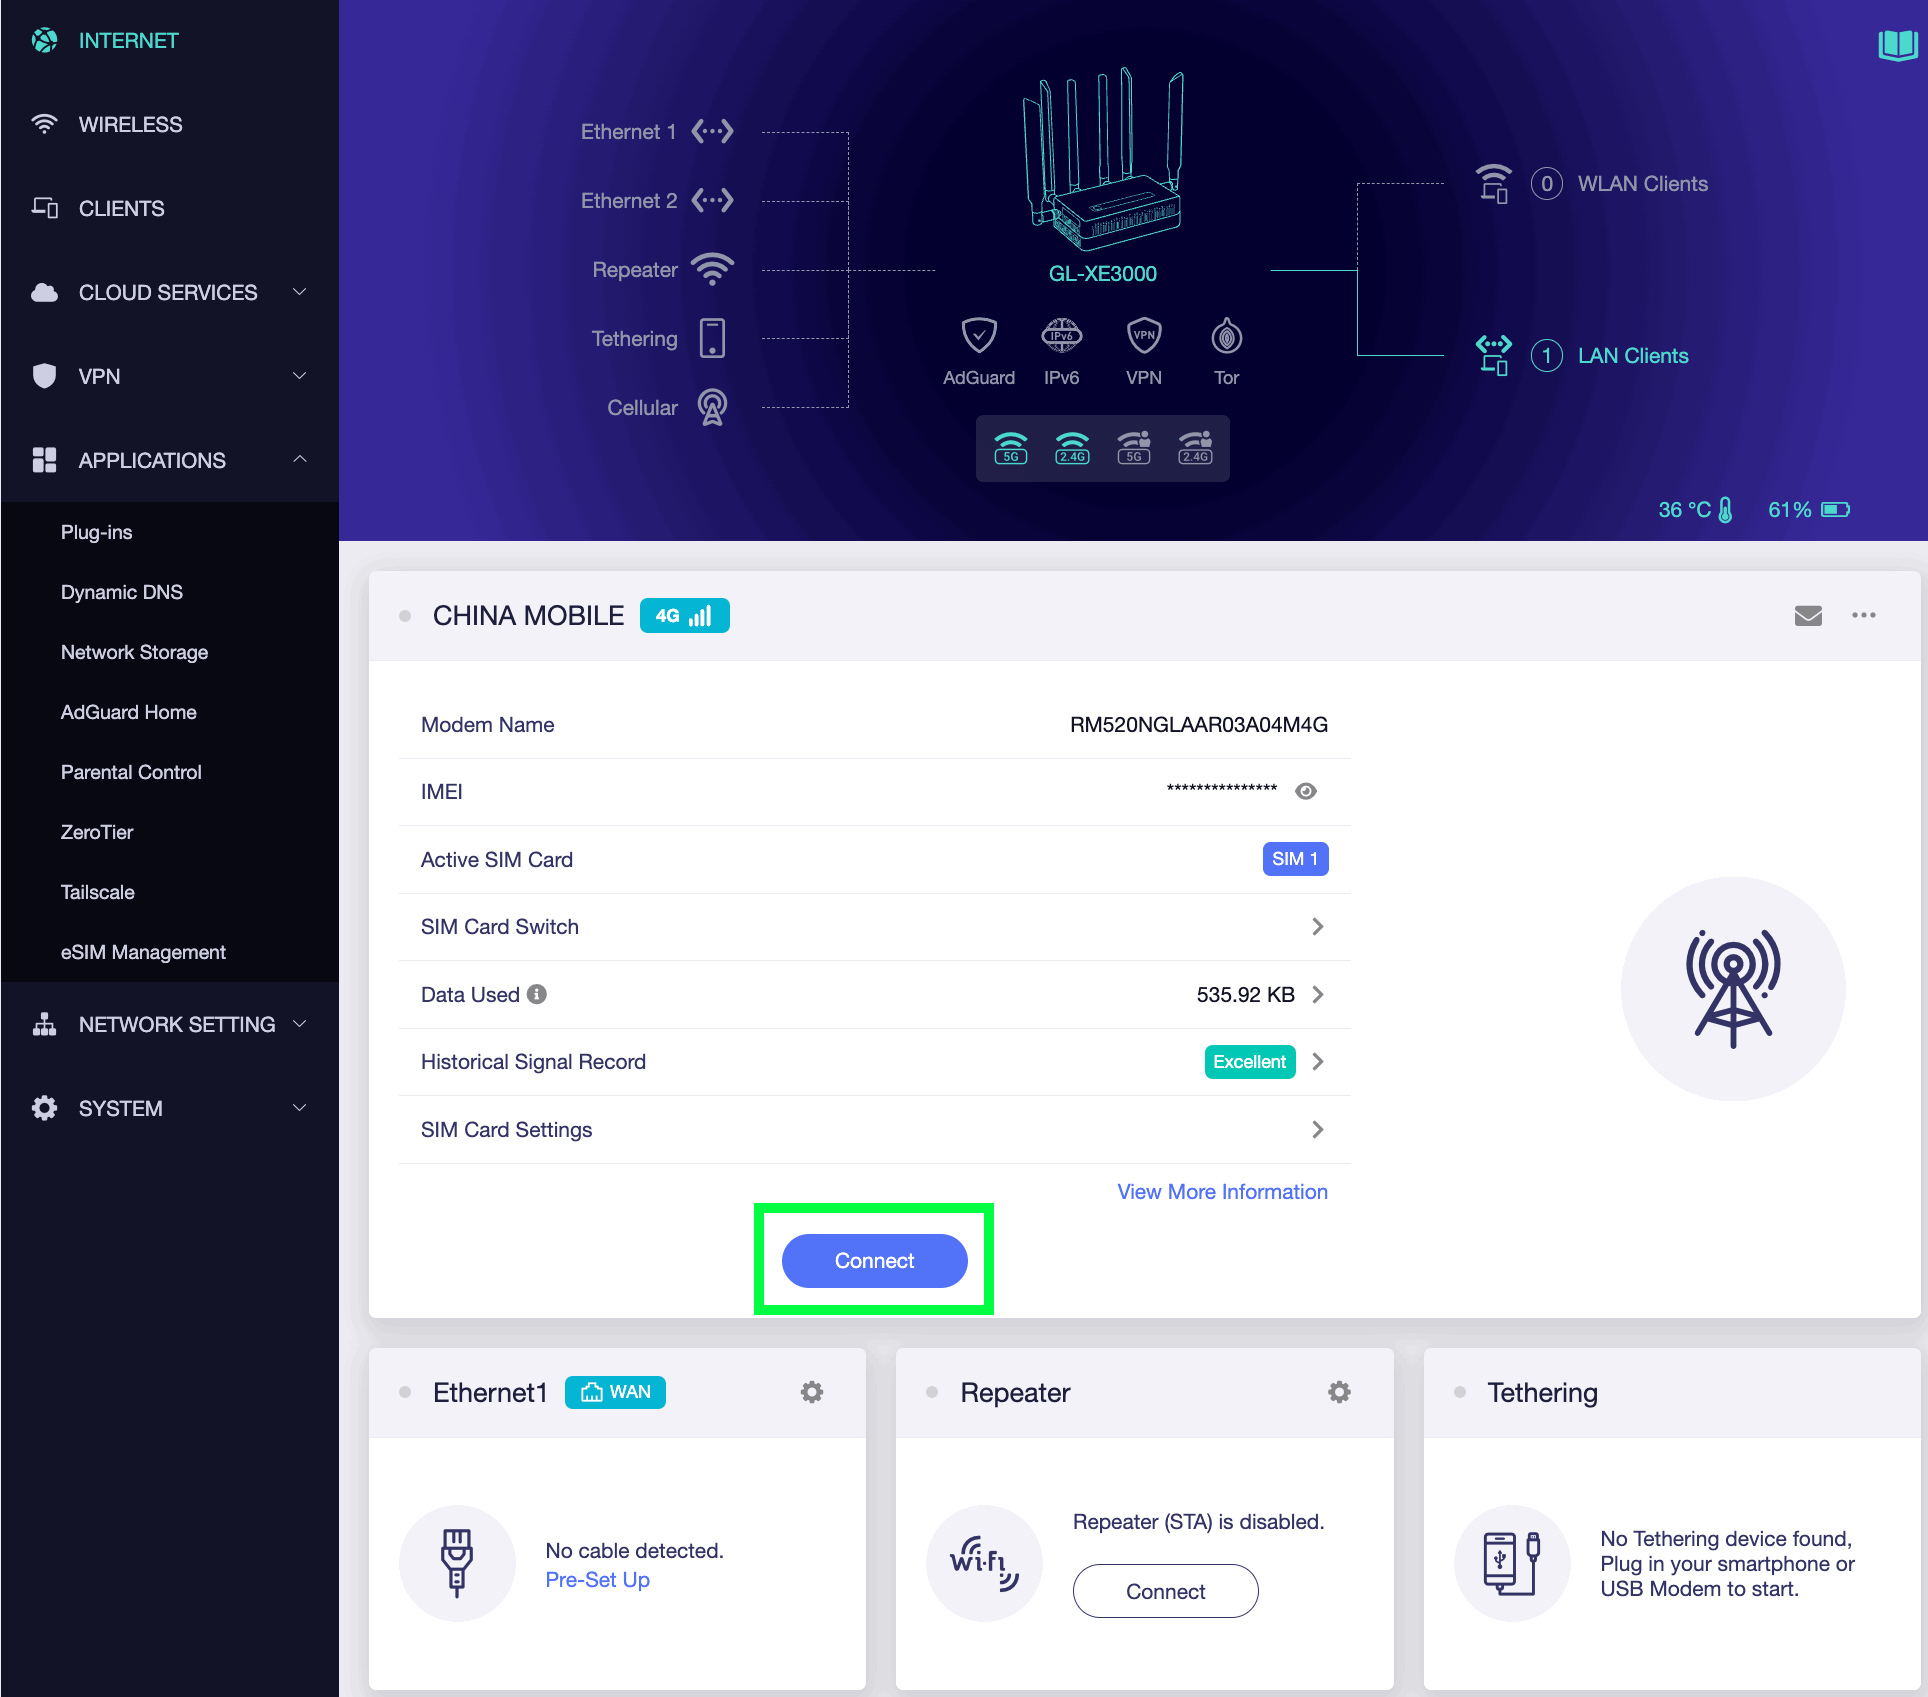
Step 2: Open a browser and type "192.168.8.1" in the address bar to log in to the GL.iNet Admin Panel.

Step 3: Connect your device to the internet.
Navigate to INTERNET, and click Connect (or Auto Setup in lower firmware version) to connect to the internet via Cellular.
This eSIM physical card comes with a seed profile that includes 1GB of free data for the U.S. and Europe, plus 100MB of Global Data, valid for 1 year from the activation date. Please note that this data is only for purchasing and downloading eSIM profiles and is not intended for general internet access.

If the internet is connected successfully, the screen will appear as follows.

Manage Your eSIM Profile
Step 1: Ensure your GL.iNet device has the latest firmware installed.
Please make sure the Version is 4.0 or higher, and the Firmware Type number is 0319 or greater.

If your firmware is not up-to-date, you can upgrade it either automatically online or manually.
Option 1: Online Firmware Upgrade
-
Ensure your device is connected to the internet.
-
In the web admin panel, navigate to SYSTEM > Upgrade > Online Upgrade, and click the Install button to automatically update to the latest firmware.

Option 2: Manual Firmware Update
-
Download firmware for the corresponding model that supports eSIM functionality from here.
-
In the web admin panel, navigate to SYSTEM > Upgrade > Local Upgrade. Select the firmware file or drag it into the designated area to upgrade to the latest version.

Note
-
Some models, such as Mudi (GL-E750), Puli (GL-XE300) and Spitz (GL-X750), do not support eSIM if they are equipped with Quectel EP06-A modules due to the Qualcomm software lacking support for specific AT commands.
-
If they have EP06-E modules installed, please refer to this link to upgrade the module to the latest software for eSIM functionality.
Step 2: Navigate to the eSIM Management.
After updating the firmware, wait for your device to reboot, then log in to the GL.iNet Admin Panel.
Navigate to APPLICATIONS > eSIM Management. Here you can view your eSIM current status.

Only one eSIM profile can be active at a time. A green dot indicates that the selected eSIM profile is currently active.
eSIM Management Interface Guide

A. Current eSIM Status:
This section displays the basic information of the eSIM and details of the currently active profile.
- EID: The globally unique identifier of the eUICC (eSIM chip) used for identification and profile control.
- ICCID: The Integrated Circuit Card Identifier of the currently active eSIM profile.
- IMSI: The International Mobile Subscriber Identity of the currently active eSIM profile.
- eSIM OS Version: The operating system version of the eUICC that defines its compatibility and capabilities.
- eSIM Storage (remain/total): The available and total storage capacity on the eUICC for storing eSIM profiles.
- eSIM Profile Number: The number of eSIM profiles currently stored on the eUICC.
B. Seed Profile:
This section provides details about the seed profile. The seed profile comes preloaded with 1GB of free data for the U.S. and Europe, plus 100MB of global data, valid for 1 year from the activation date. This data allows you to download other profiles globally. You can also monitor the usage of the seed profile, including the remaining data, total data, and expiration date.
C. Normal Profile:
This section displays information about the normal profiles. If you purchase an eSIM profile from an online store and upload the eSIM QR code using the Add eSIM Profile (QR Code Install) function, the profile will appear here after the upload is complete.
D. Add eSIM Profile (QR Code Install):
This is the core function for uploading and installing eSIM profiles. When you purchase an eSIM profile from an online store, you will receive a QR code. Click this button to upload the QR code, which will then download and install the eSIM profile onto your router.
E. Export Log for Support:
This section allows you to view all logs related to the operation of the eSIM. If you encounter any issues and require technical support, you can export these logs and share them with our support team via email at support@gl-inet.com.
F. Top-up:
If you run out of the complimentary and preloaded data provided by GL.iNet, or if the data has expired and you wish to continue using the service, you can click the Top-up button to scan a QR code and purchase additional data.
G. Recommended eSIM Profile Stores:
GL.iNet recommends two partner eSIM stores for your convenience: EIOTCLUB and Tuge. You can scan the QR codes or click link (the EIOTCLUB eSIM Store or the Tuge eSIM Store) to make a purchase based on your needs. You can also choose to buy eSIM packages from other third-party providers of your choice.
H. Actions:
This section allows you to easily manage eSIM profiles, including enabling, switching or deleting them.
Top Up eSIM Seed Profile
For initial setup or purchasing an eSIM profile, GL.iNet provides preloaded data: 100MB for global use and 1GB for Europe and the U.S. These plans are designed to be more expensive and are intended for situations where you need to download a new eSIM profile upon arriving in a location without internet access.
To top up your eSIM Seed Profile, simply click the Top-up button, scan the QR code and follow the instructions.

Purchase a new eSIM Profile and Install
After setting up your router, follow the steps below to purchase and activate your eSIM profile.
Step 1: Purchase an eSIM Profile from eSIM Stores.
Option 1: Purchase an eSIM profile from one of our recommended stores, the EIOTCLUB eSIM Store or the Tuge eSIM Store. Please refer to the image below for the direct store links.
All eSIM profile packages purchased from these two stores are fully compatible with our routers. If you have any questions, please contact our support team at support@gl-inet.com.


Option 2: Refer to this link to get a list of stores that have been tested by GL.iNet. Note that we cannot guarantee that all packages from these stores will be fully compatible with GL.iNet routers.
Since GL.iNet does not have partnerships with these stores, we are unable to assist with after-sales support or refunds related to these packages.
Option 3: Purchase an eSIM profile from other third-party providers of your choice.
Step 2: Install Your eSIM Profile
After purchasing the eSIM profile, you will receive a QR code. Save this QR code to your computer. Then click the Add eSIM Profile (QR Code Install) button to upload and install your purchased eSIM profile.


Note: As shown by the green arrow in the image above, a properly formatted QR code will display an activation code that begins with LPA:.
However, some non-standard QR codes may produce only a raw activation code without the LPA prefix. If this occurs, please manually add "LPA:" to the beginning of the code before clicking the Download & Install button.
Step 3: Enable Your New Profile
After successfully uploading the QR code, you will see your new eSIM profile listed under Normal Profile. Click Enable to activate your new eSIM profile.

Step 4: Apply Your New eSIM Profile and Connect to the Internet
After enabling your eSIM profile, navigate to INTERNET and click Connect to apply your eSIM profile and connect to the internet.
Note: Some eSIM profiles may require additional settings, such as APN, PIN, or TTL. If needed, click Manual Setup or SIM Card Settings to configure these settings. In some cases, you may need to reboot the device to establish an internet connection.
Once the eSIM profile is successfully set up, the screen will appear as follows:

Step 5: Easily Switch or Delete eSIM Profiles
You can easily switch between eSIM profiles by clicking Enable next to the profile you want to activate. To remove an eSIM profile, simply click Delete.

Still have questions? Visit our Community Forum or Contact us.