How to access WireGuard Server LAN devices from the client side via domain names?
This tutorial introduces the steps to access your home devices (such as NAS, IP camera, etc.) on the WireGuard server from the client side using their domain names.
Topology
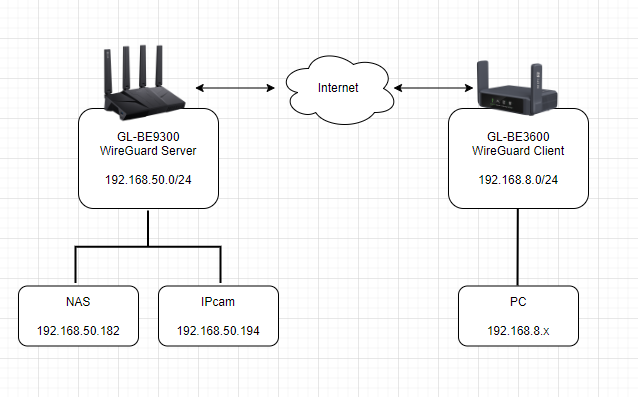
As shown below, you can access devices such as NAS and IP camera on the WireGuard server's LAN from the PC on the client side via their domain names.
Setup steps
1. Edit Hosts on Server (Optional)
This step applies when your VPN server cannot resolve local domain names properly. Skip this step if you are unsure.
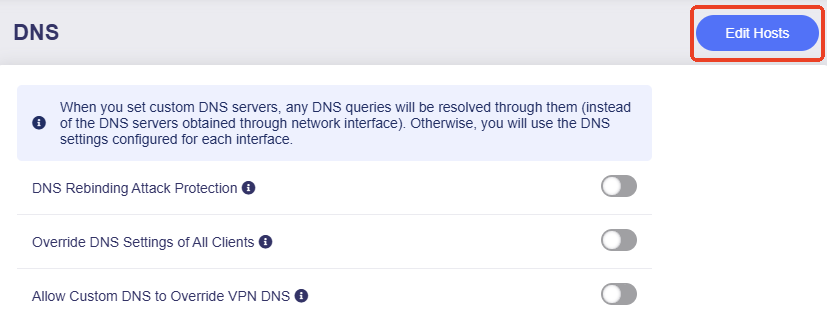
Log in to the web admin panel of your VPN server router, navigate to NETWORK -> DNS -> Edit Hosts.
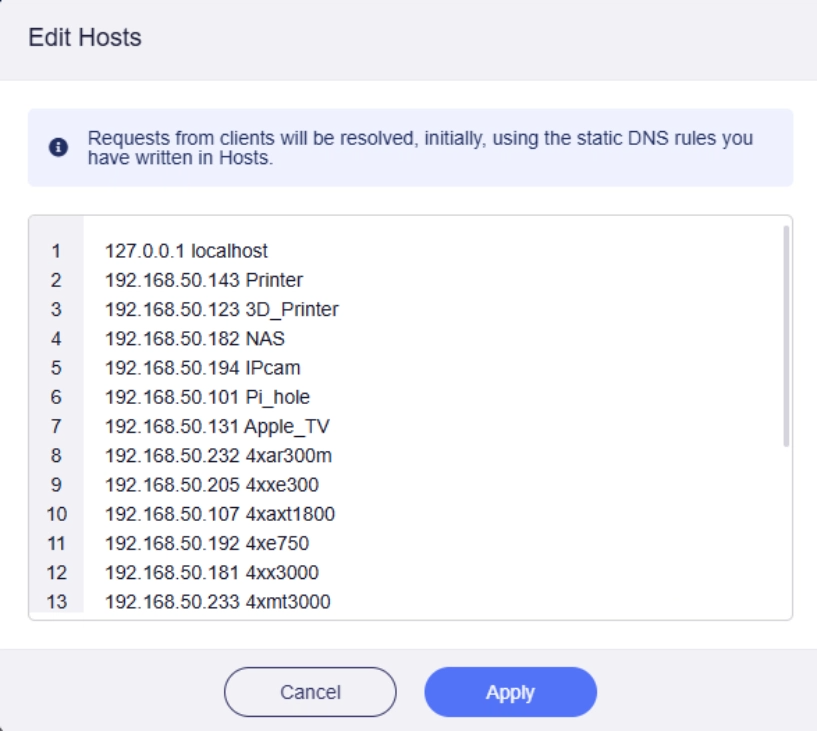
Input the IP and domain name of the home devices you want to access, then click Apply.
2. Allow Remote Access LAN on Server
For server router running firmware v4.8
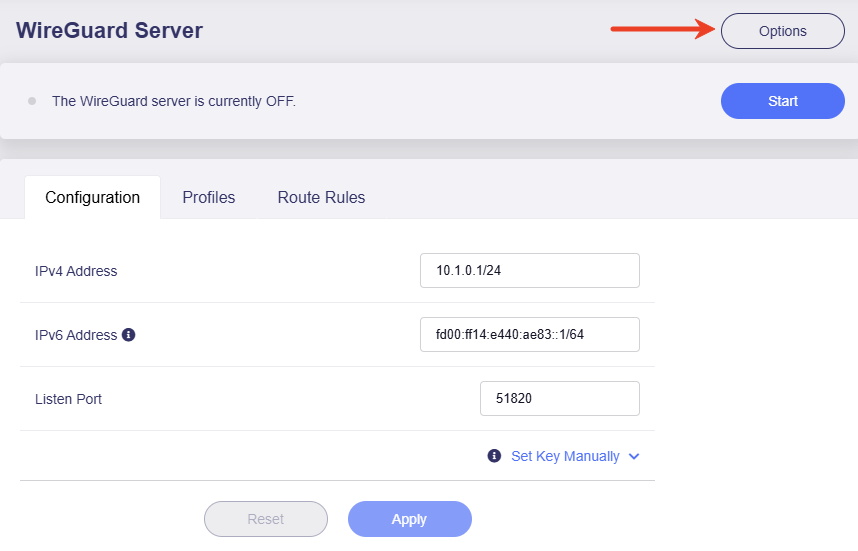
On the server's web admin panel, navigate to VPN -> WireGuard Server. Click Options in the upper right corner.
Enable Allow Remote Access the LAN Subnet, and click Apply.
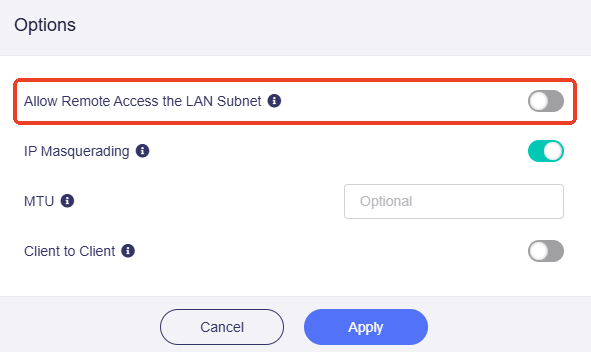
When enabled, this router and LAN devices can be accessed remotely via the VPN.
For server router running firmware v4.7 and earlier
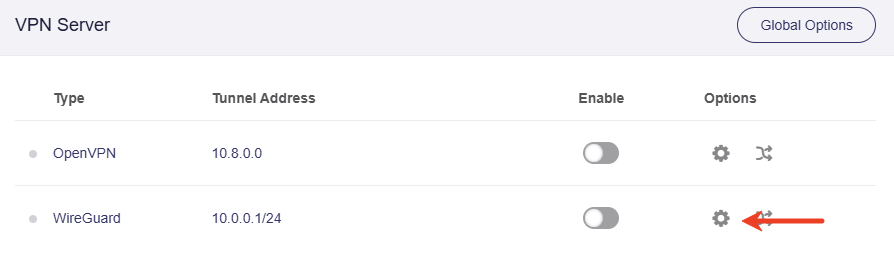
On the server's web admin panel, navigate to VPN -> VPN Dashboard -> VPN Server section. Click the gear icon on the right side of the WireGuard server.
Enable Remote Access LAN, and click Apply.
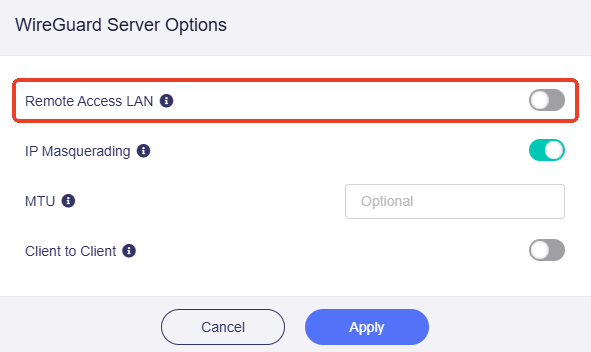
When enabled, this router and LAN devices can be accessed remotely via the VPN.
3. Export VPN Configuration
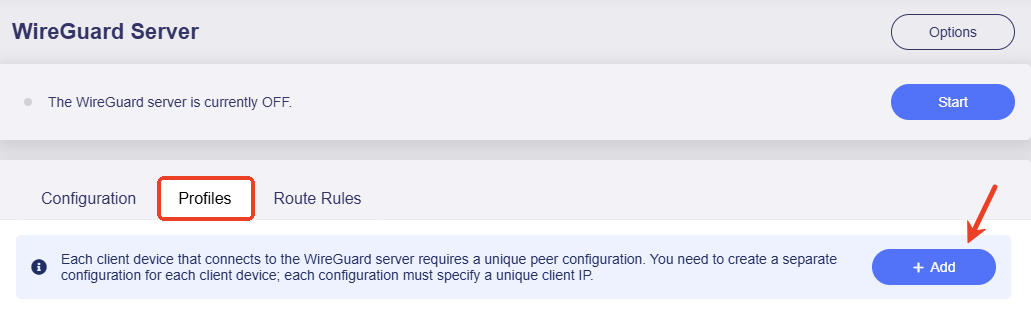
On the server's admin panel, navigate to VPN -> WireGuard Server -> Profiles tab, click Add to export a configuration profile.
You will then get a .conf file, as shown below.

Open this file. Ensure that the DNS field in the file points to the server's tunnel IP, which is displayed under the Configuration tab of the WireGuard Server page, as shown below. Meanwhile, delete "64.6.64.6" from the DNS field if any to avoid DNS resolution failure.
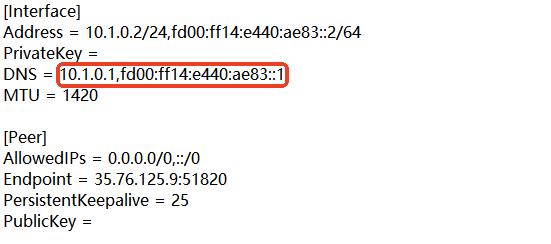
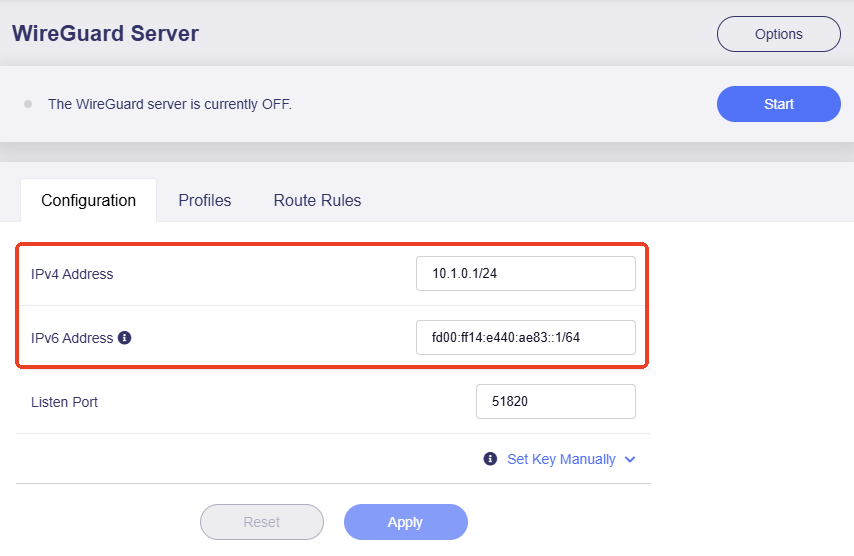
Note: The WireGuard server's tunnel IP varies from different firmware version. Please check your server's tunnel IP.
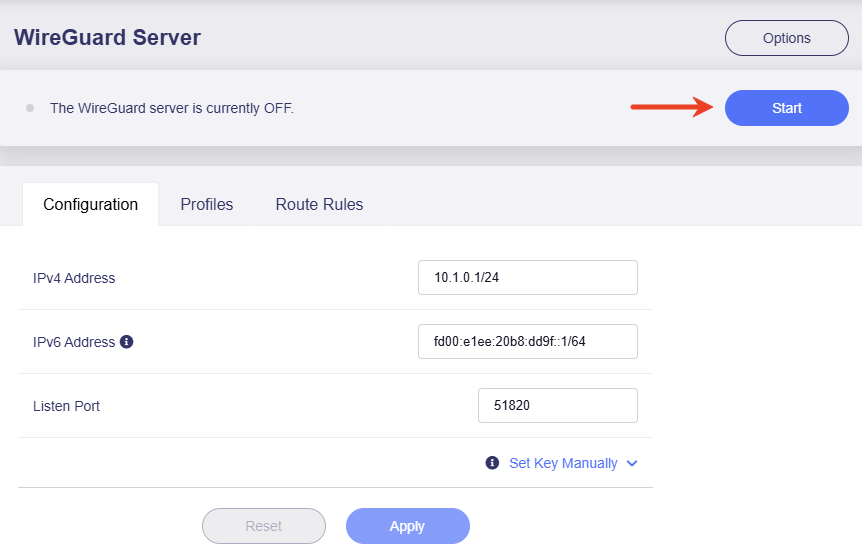
4. Enable VPN Server
On the WireGuard Server page, click the Start button in the upper right corner to start the server.
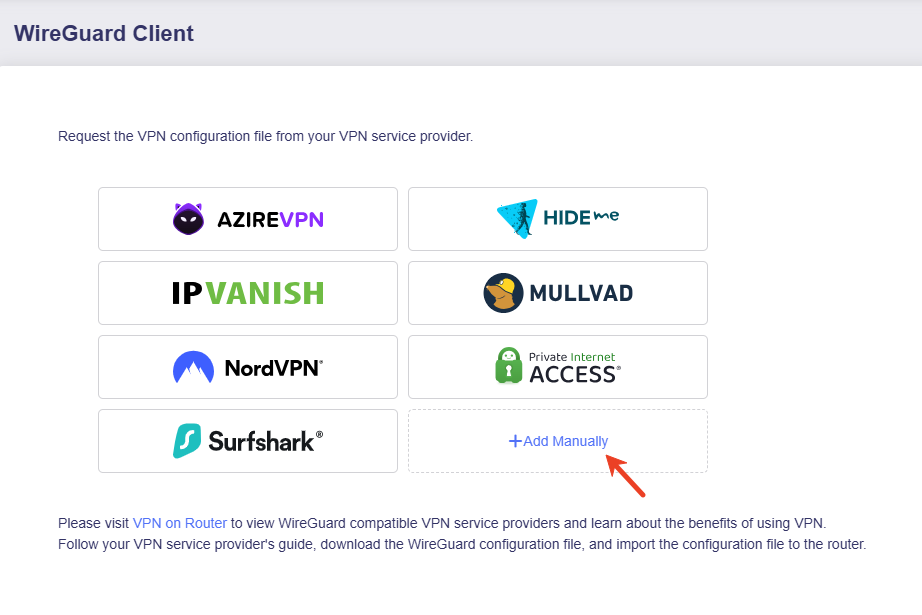
5. Upload VPN Configuration
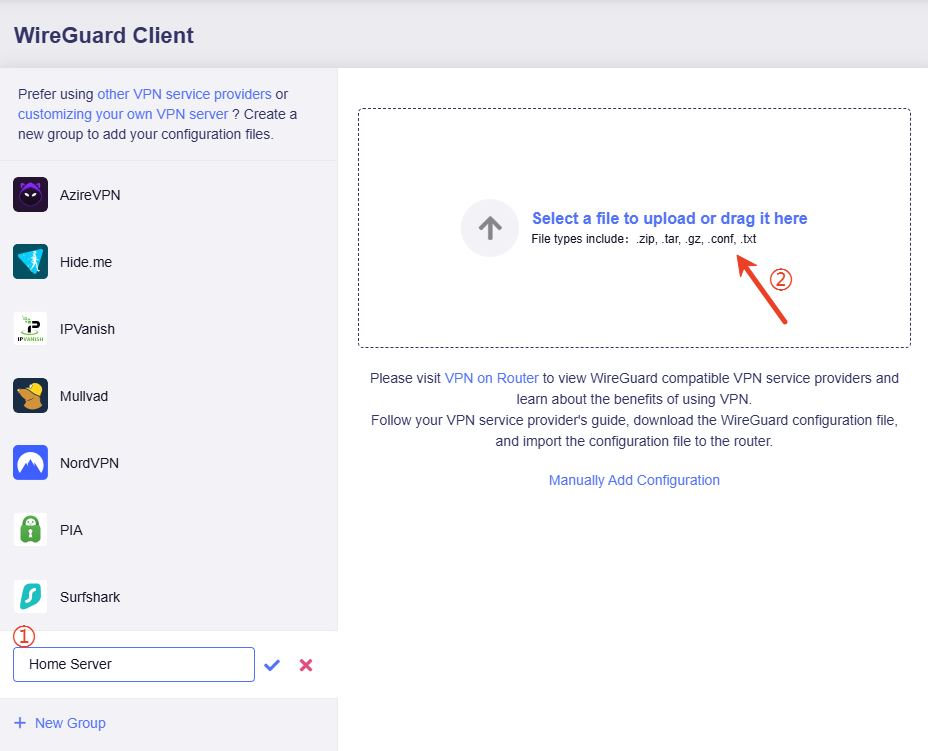
Log in to the web admin panel of your VPN client router, navigate to VPN -> WireGuard Client, then click Add Manually.
Create a name for this group and upload the configuration file.
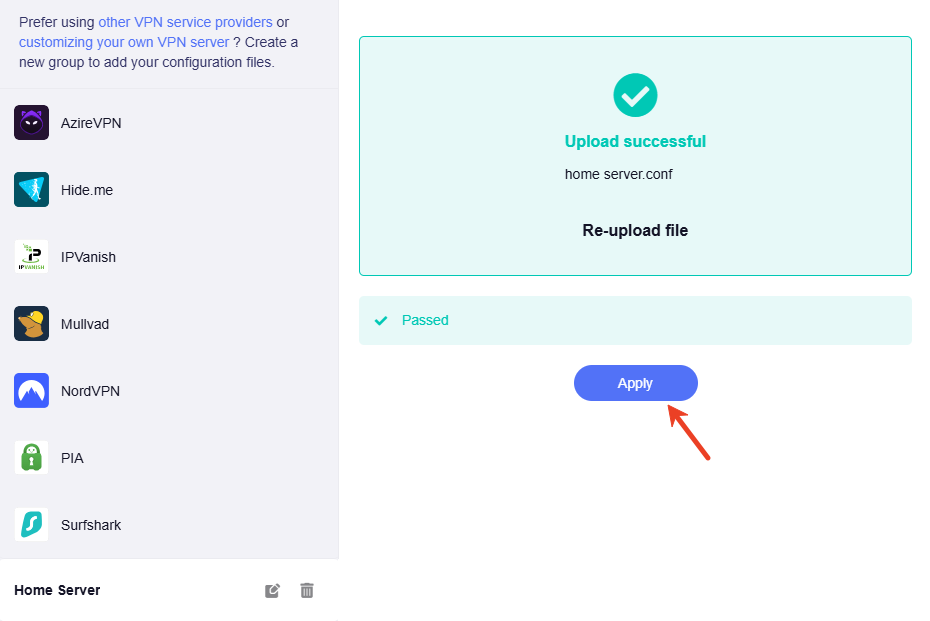
Upload successful. Click Apply.
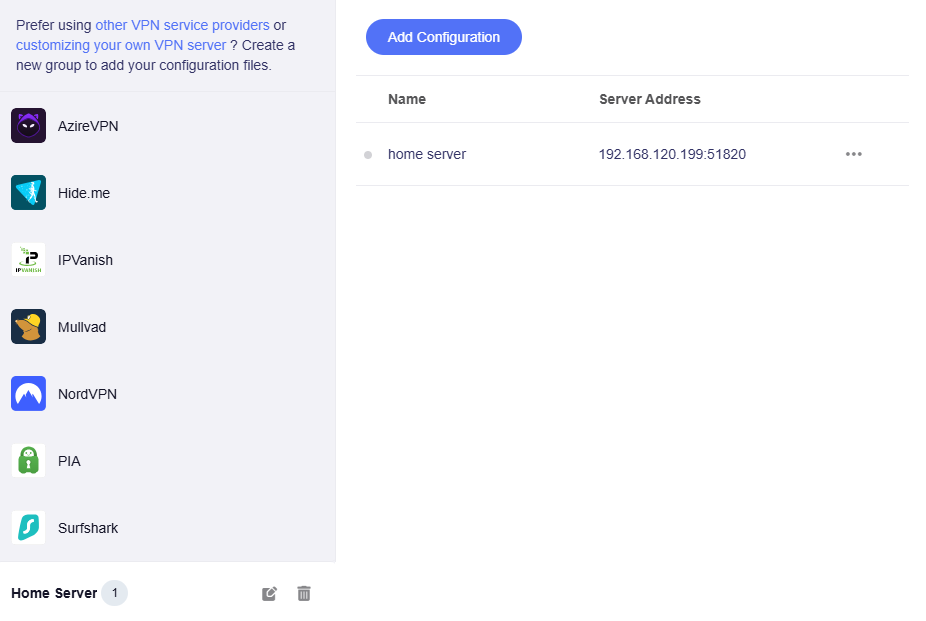
You will get a configuration file listed here.
6. Start VPN Client Connection
Click the three-dot icon to initiate the VPN connection.
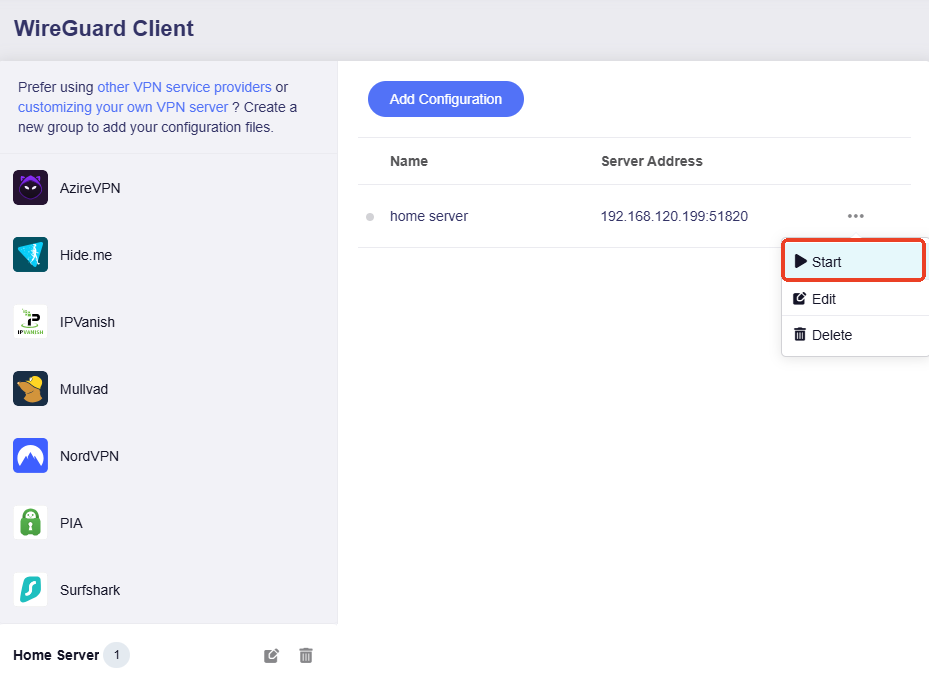
When the grey dot turns green, the WireGuard client has connected to the server successfully.

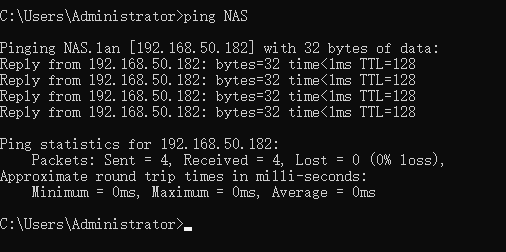
Now you can access your home devices (such as NAS) on the server's LAN from the PC on the client's LAN using their domain names.
Still have questions? Visit our Community Forum or Contact us.